Select an Opportunity
Your opportunities should be synced from your CRM. Choose an opportunity and click Create business case.
Configure Context
Review and enrich the context Minoa has about this deal. Add call transcripts, connect CRM opportunities, or
upload files like RFPs. The more context you provide, the better your use case suggestions will be.
Review Suggested Use Cases
Minoa AI analyzes your context and suggests relevant use cases. The loading screen can take 2-3 minutes
depending on how much context there is to review—it’s always worth the wait as suggestions improve with
additional context.
Add Use Cases from Shopping Cart
Browse and filter all available use cases, review internal notes or calculations for each one, and add them to
your business case.
Review Inputs
Review all unlocked inputs that typically have default values. Fill in what you know about your prospect to make
the business case personalized and meaningful.
Add an Investment
Define the pricing terms for the deal. (You can always choose to hide the investment)
Finding your opportunity
Your home page displays all business cases in your workspace. Use these tools to find the right one.Search and filter
Use the search bar to find opportunities by name. Click Filters to narrow by:- Opportunity Status – Open, Closed Won, or Closed Lost
- Opportunity Owner – Filter by yourself, specific team members, or entire teams
- Business Case – Show only opportunities with or without business cases
- Level of Detail – Low, Medium, or High to identify which cases need more work
Create a new business case
- Click Create business case on an open opportunity in Salesforce or directly in Minoa
- The new business case will be linked to your Salesforce opportunity
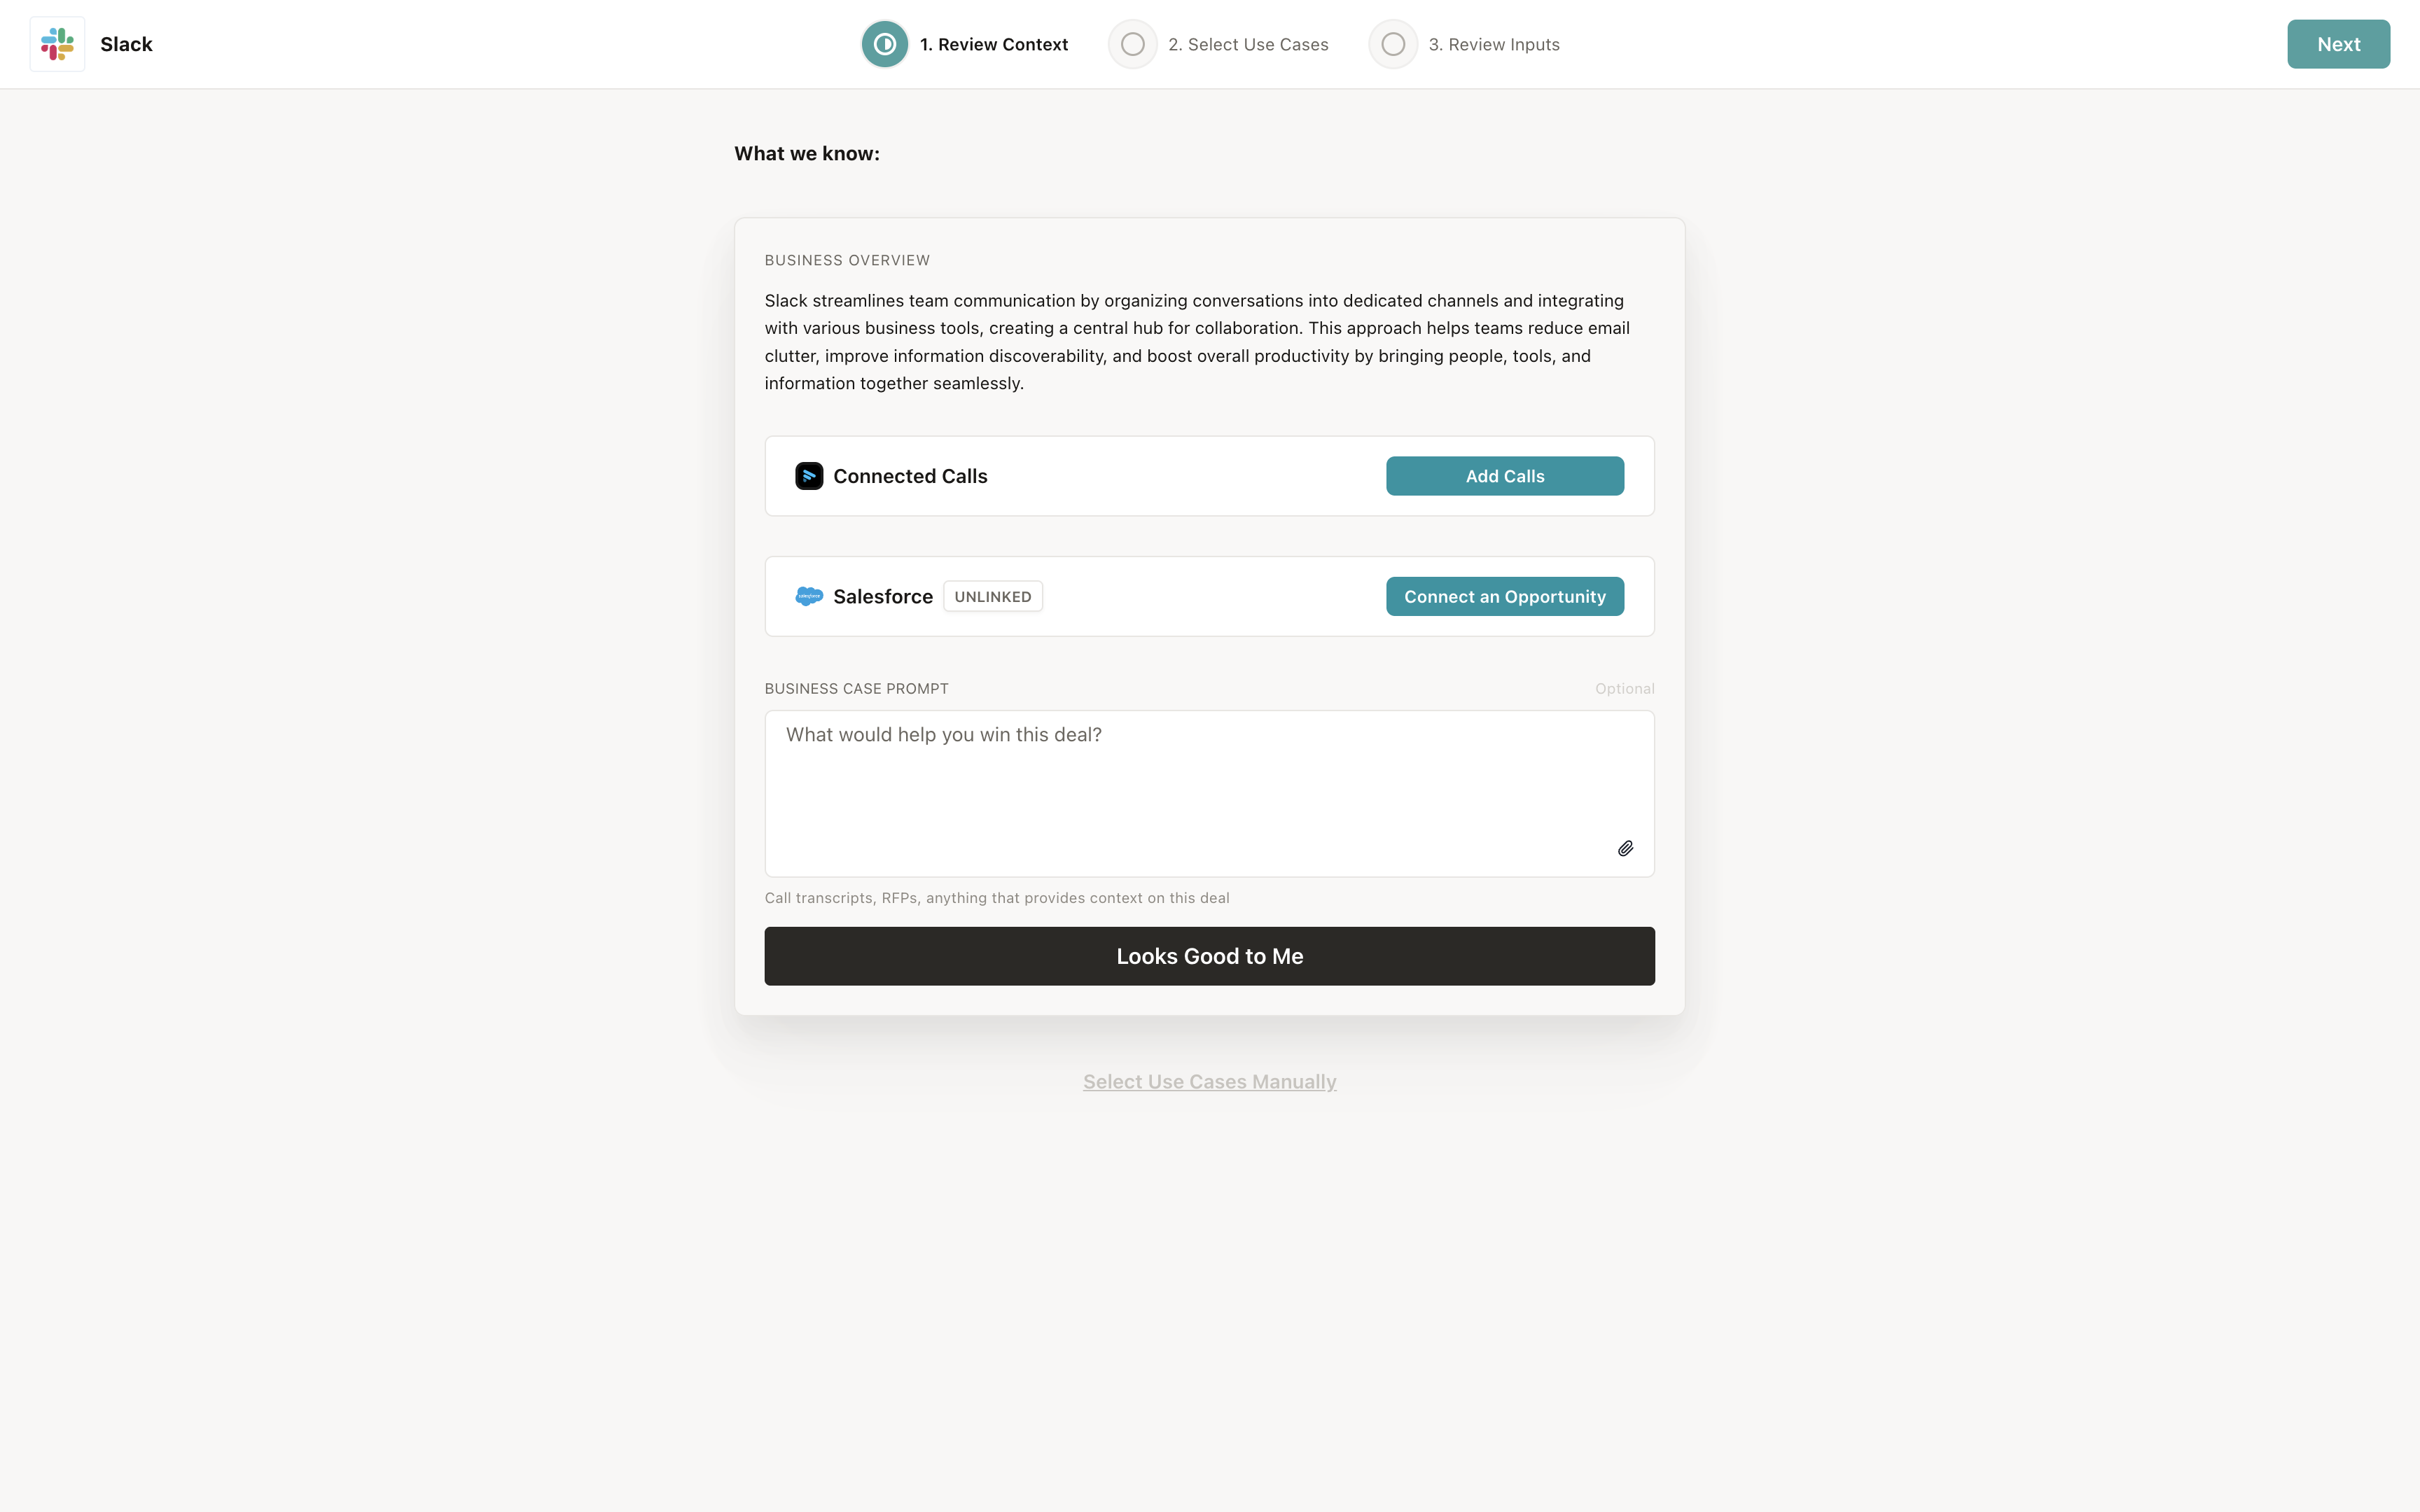
Configure context
The context step is where you review and enrich what Minoa knows about this particular deal. The more context you provide, the better your use case suggestions and generated content will be. What you see depends on your tenant setup:- If you have a CRM connected: You’ll see an accordion showing the connected opportunity details. If the business case isn’t already linked to an opportunity, you can connect one here.
- If you have a call recorder connected: You’ll see an accordion for connected calls. The system automatically tries to attach all calls associated with the opportunity, but you can add or remove calls as needed.
- All users: You can add a prompt in the Business Case Prompt field or attach files like RFPs, call transcripts, or Salesforce notes.
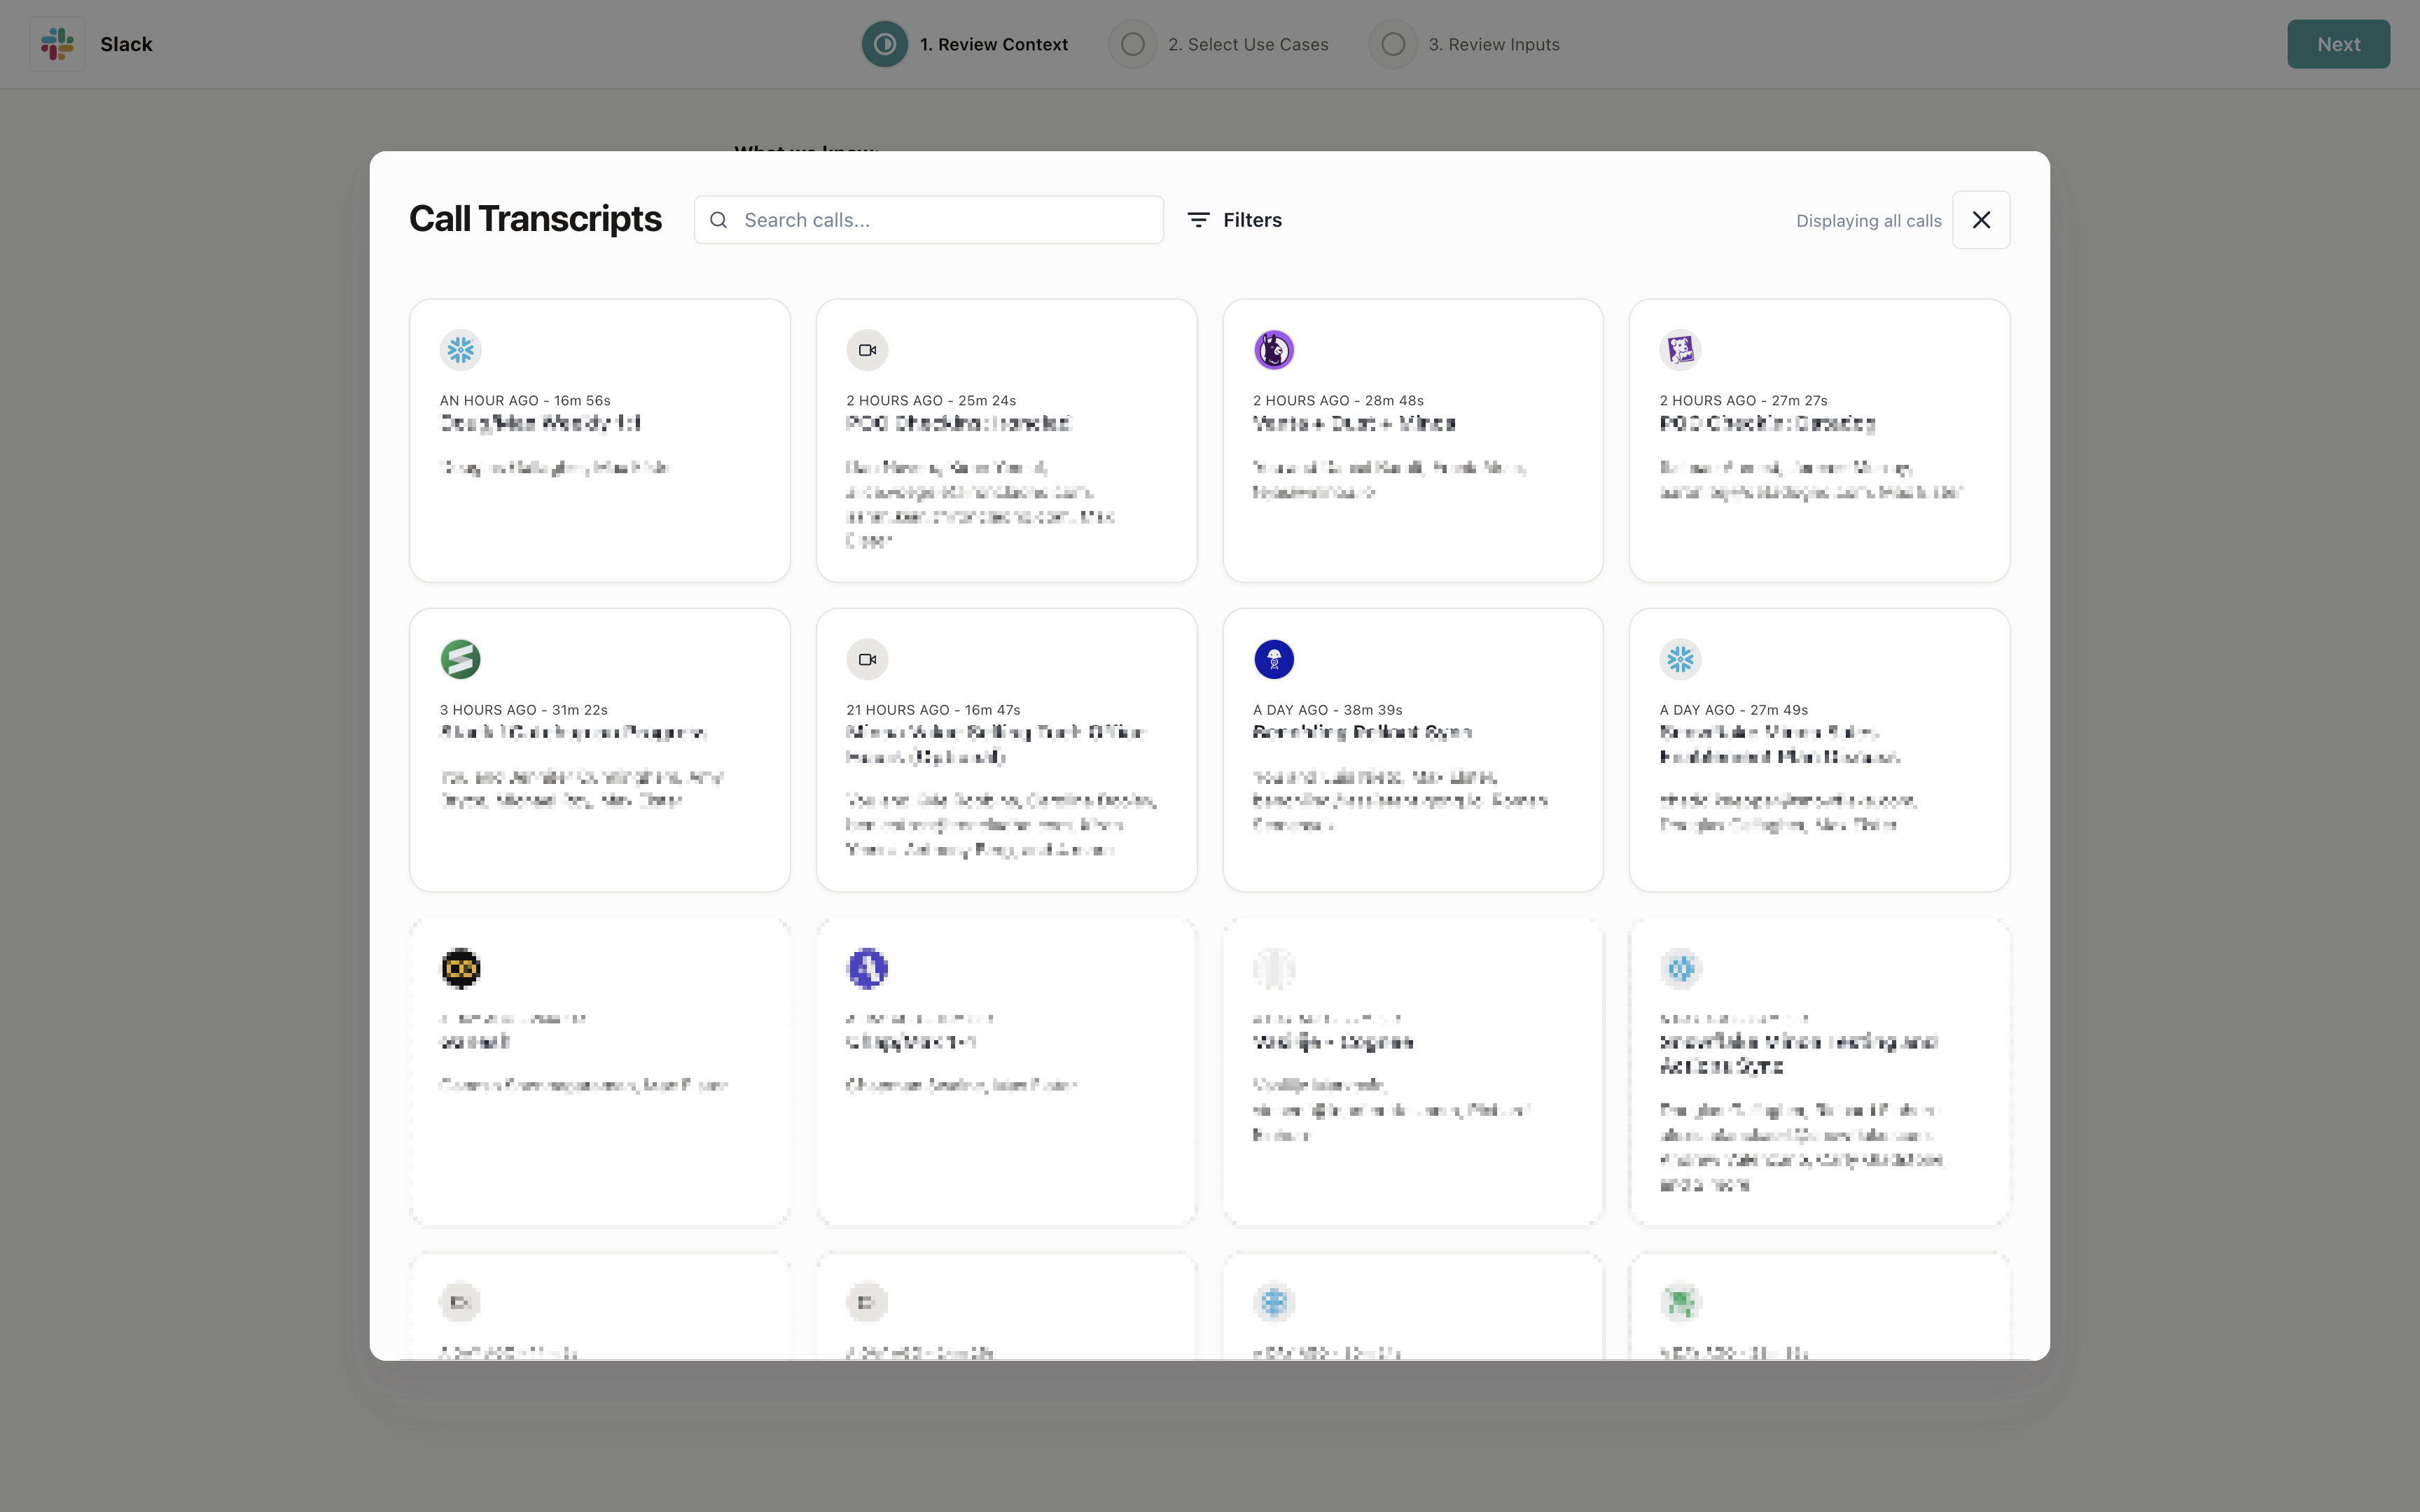
Adding calls
If you have a call recorder like Gong, Chorus, Fathom, or Momentum connected, you can add multiple calls to provide rich context from your discovery conversations.- Click Add Calls in the Connected Calls section
- Select the calls you want to include
- The system automatically tries to attach calls associated with the opportunity, but you can add or remove them as needed
Connecting an opportunity
If your business case isn’t already linked to a CRM opportunity, you can connect one here to sync deal information.- Click Connect an Opportunity in the CRM section
- Search and select the opportunity from your CRM
- The business case will now be linked to that opportunity

Adding files and prompts
You can attach files like RFPs, call transcripts, or Salesforce notes, or add a custom prompt to guide Minoa AI’s suggestions.- Type your prompt in the Business Case Prompt field (optional)
- Click the paperclip icon to attach files
- Files are automatically saved and will be analyzed along with your other context
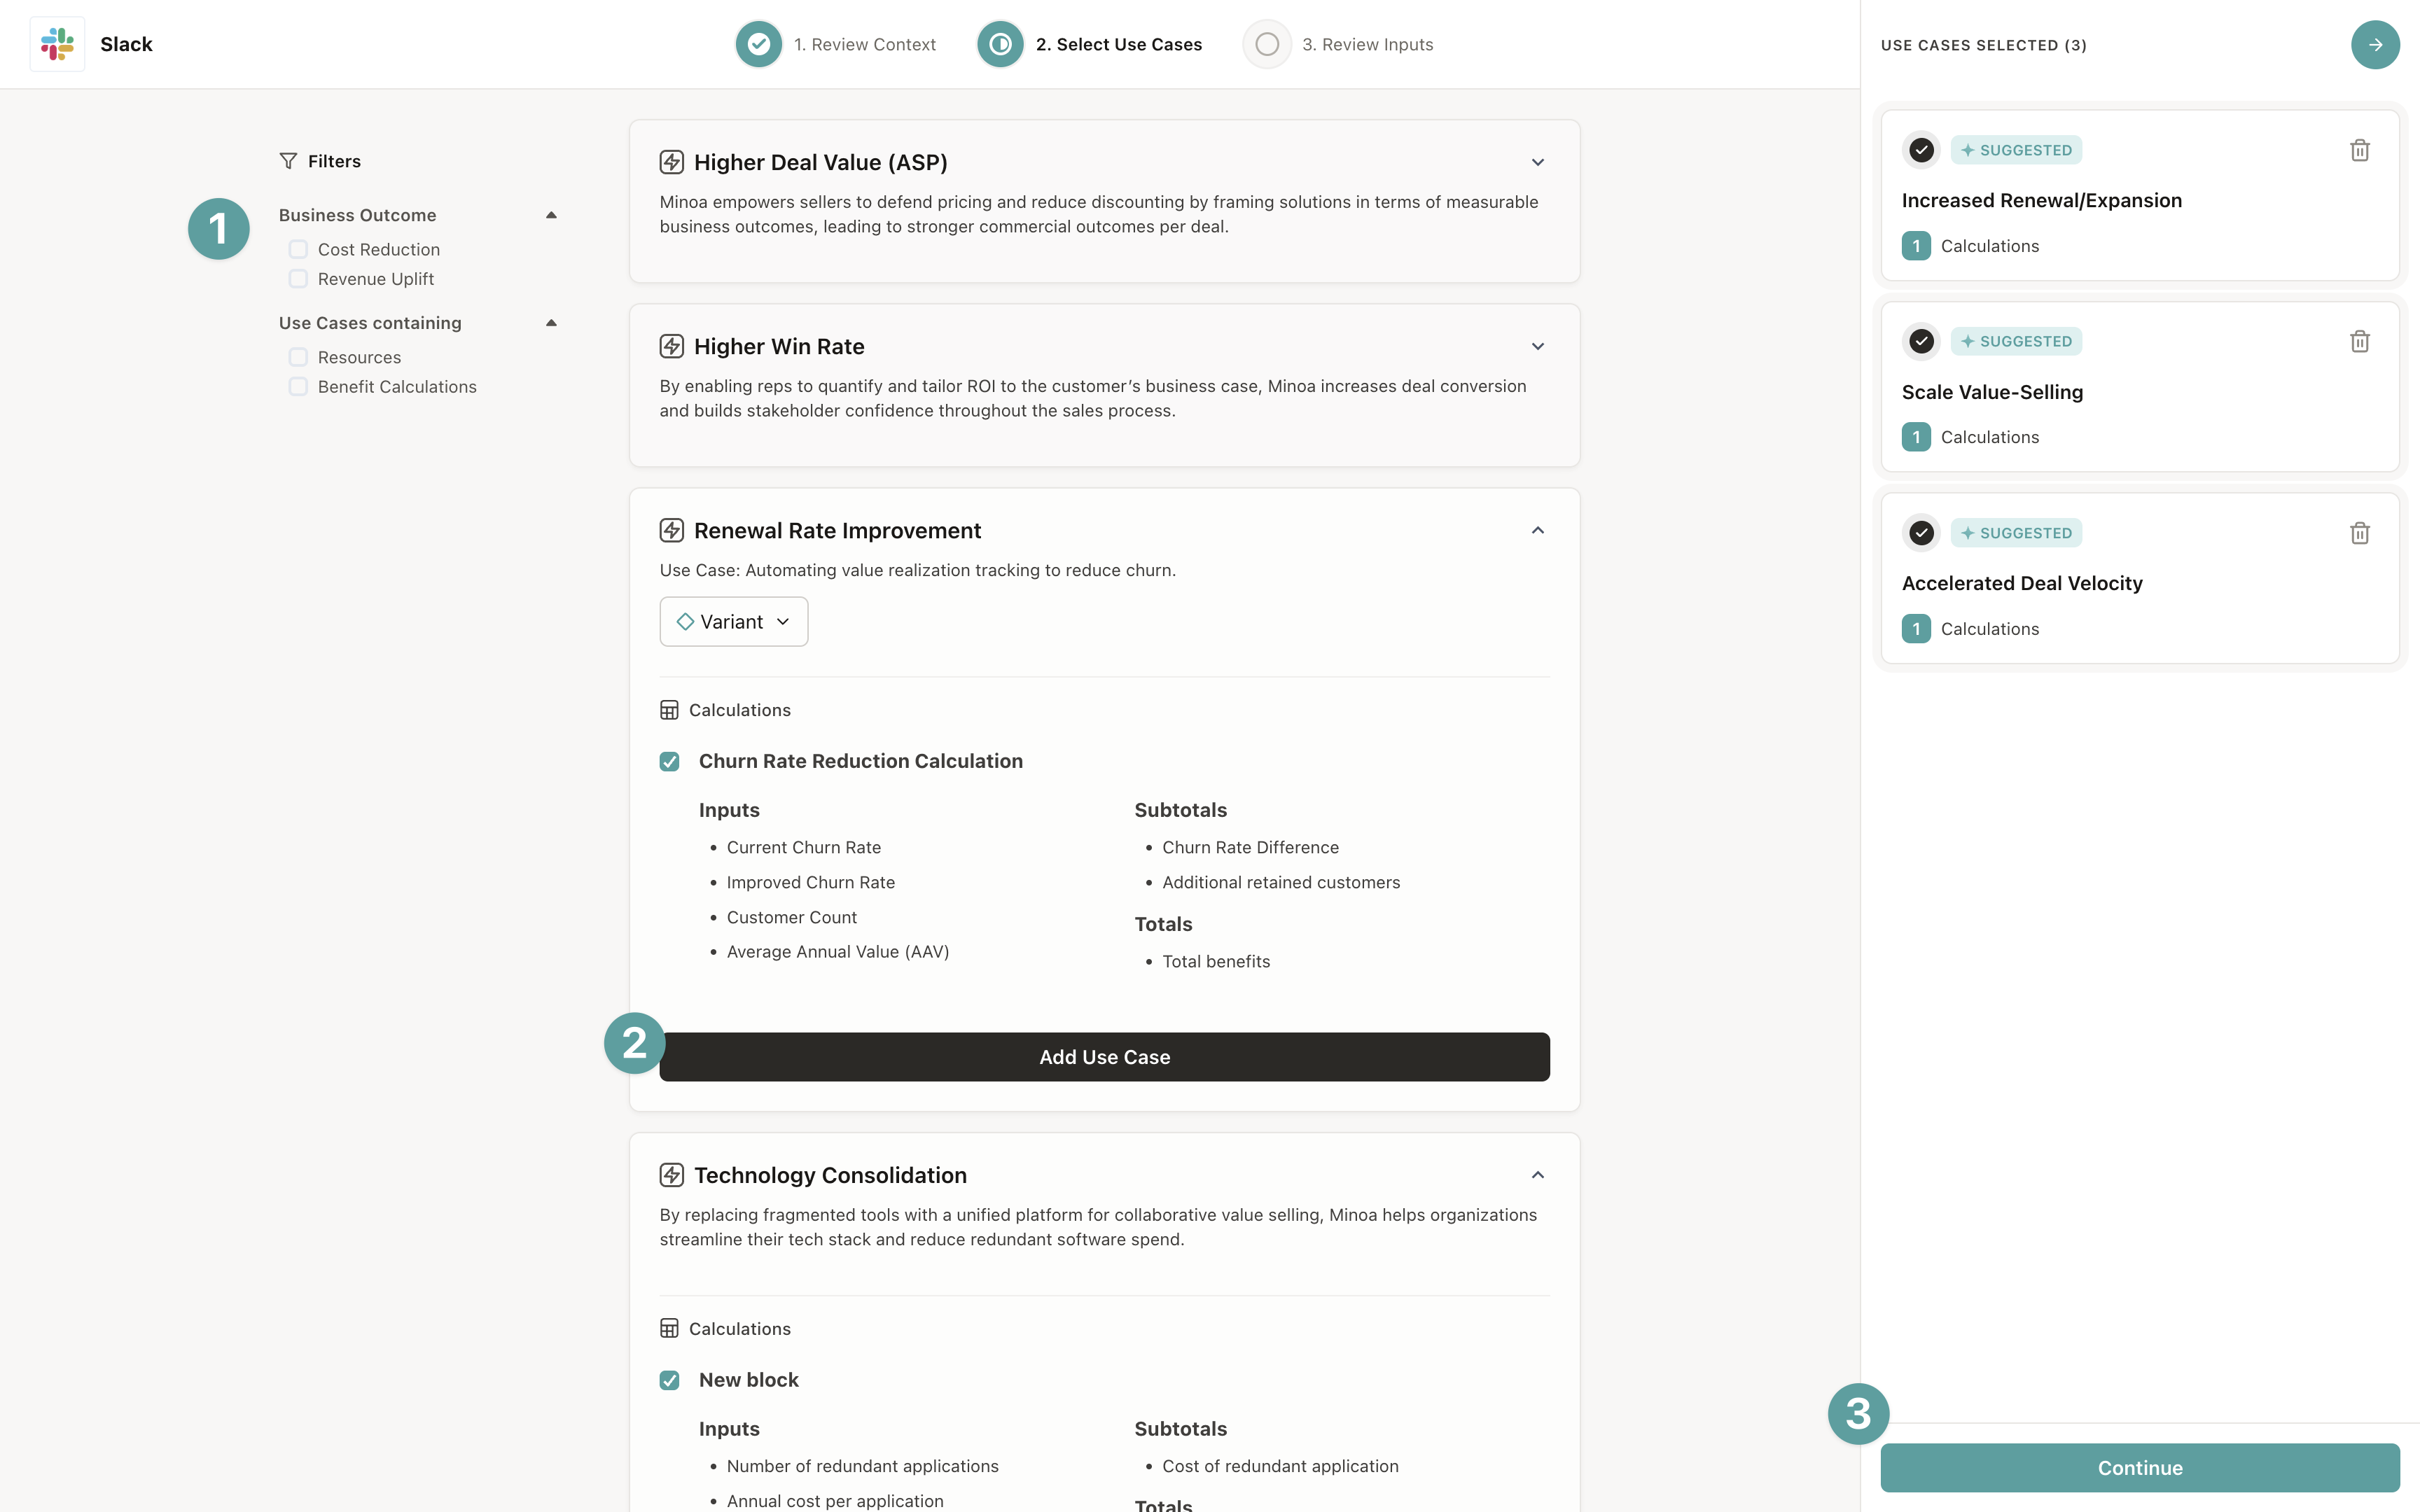
Review suggested use cases
After you’ve configured your context, Minoa AI analyzes everything you’ve provided and suggests relevant use cases. The loading screen can take 2-3 minutes depending on how much context there is to review—it’s always worth the wait as the suggestions and generated content only improve with additional context.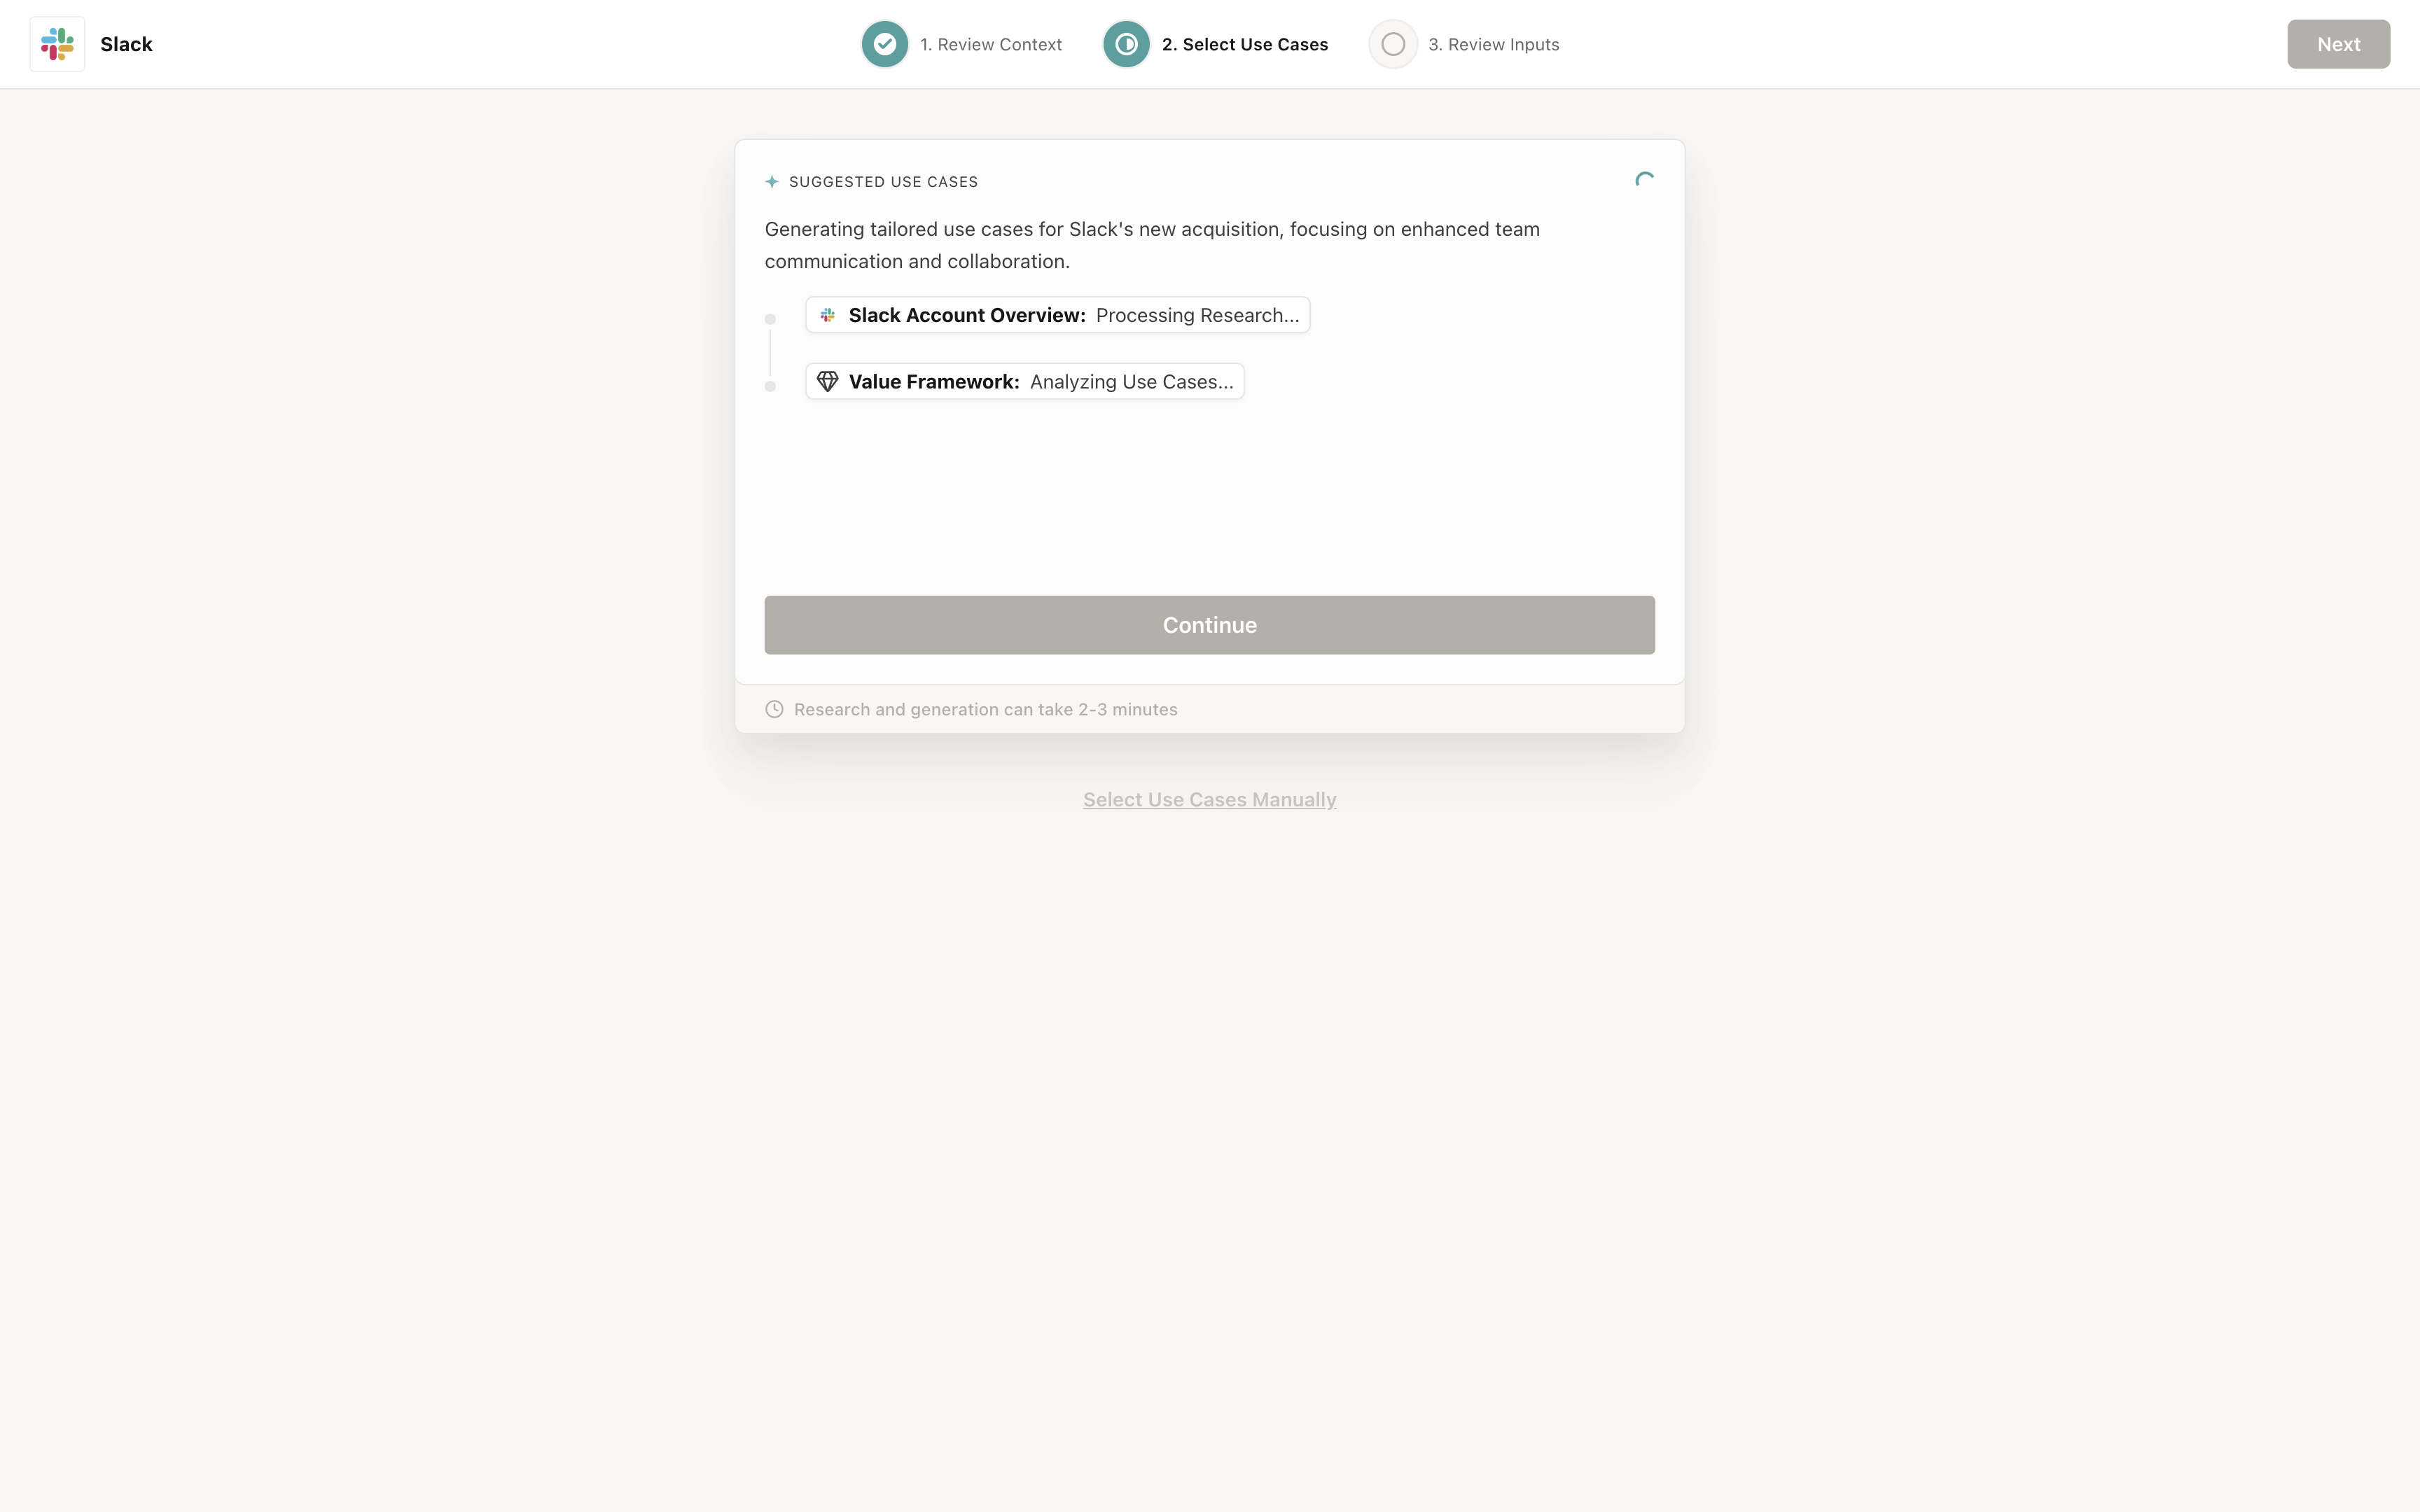 Once the analysis is complete, you’ll see a set of suggested use cases with explanations of why they’re relevant to your deal.
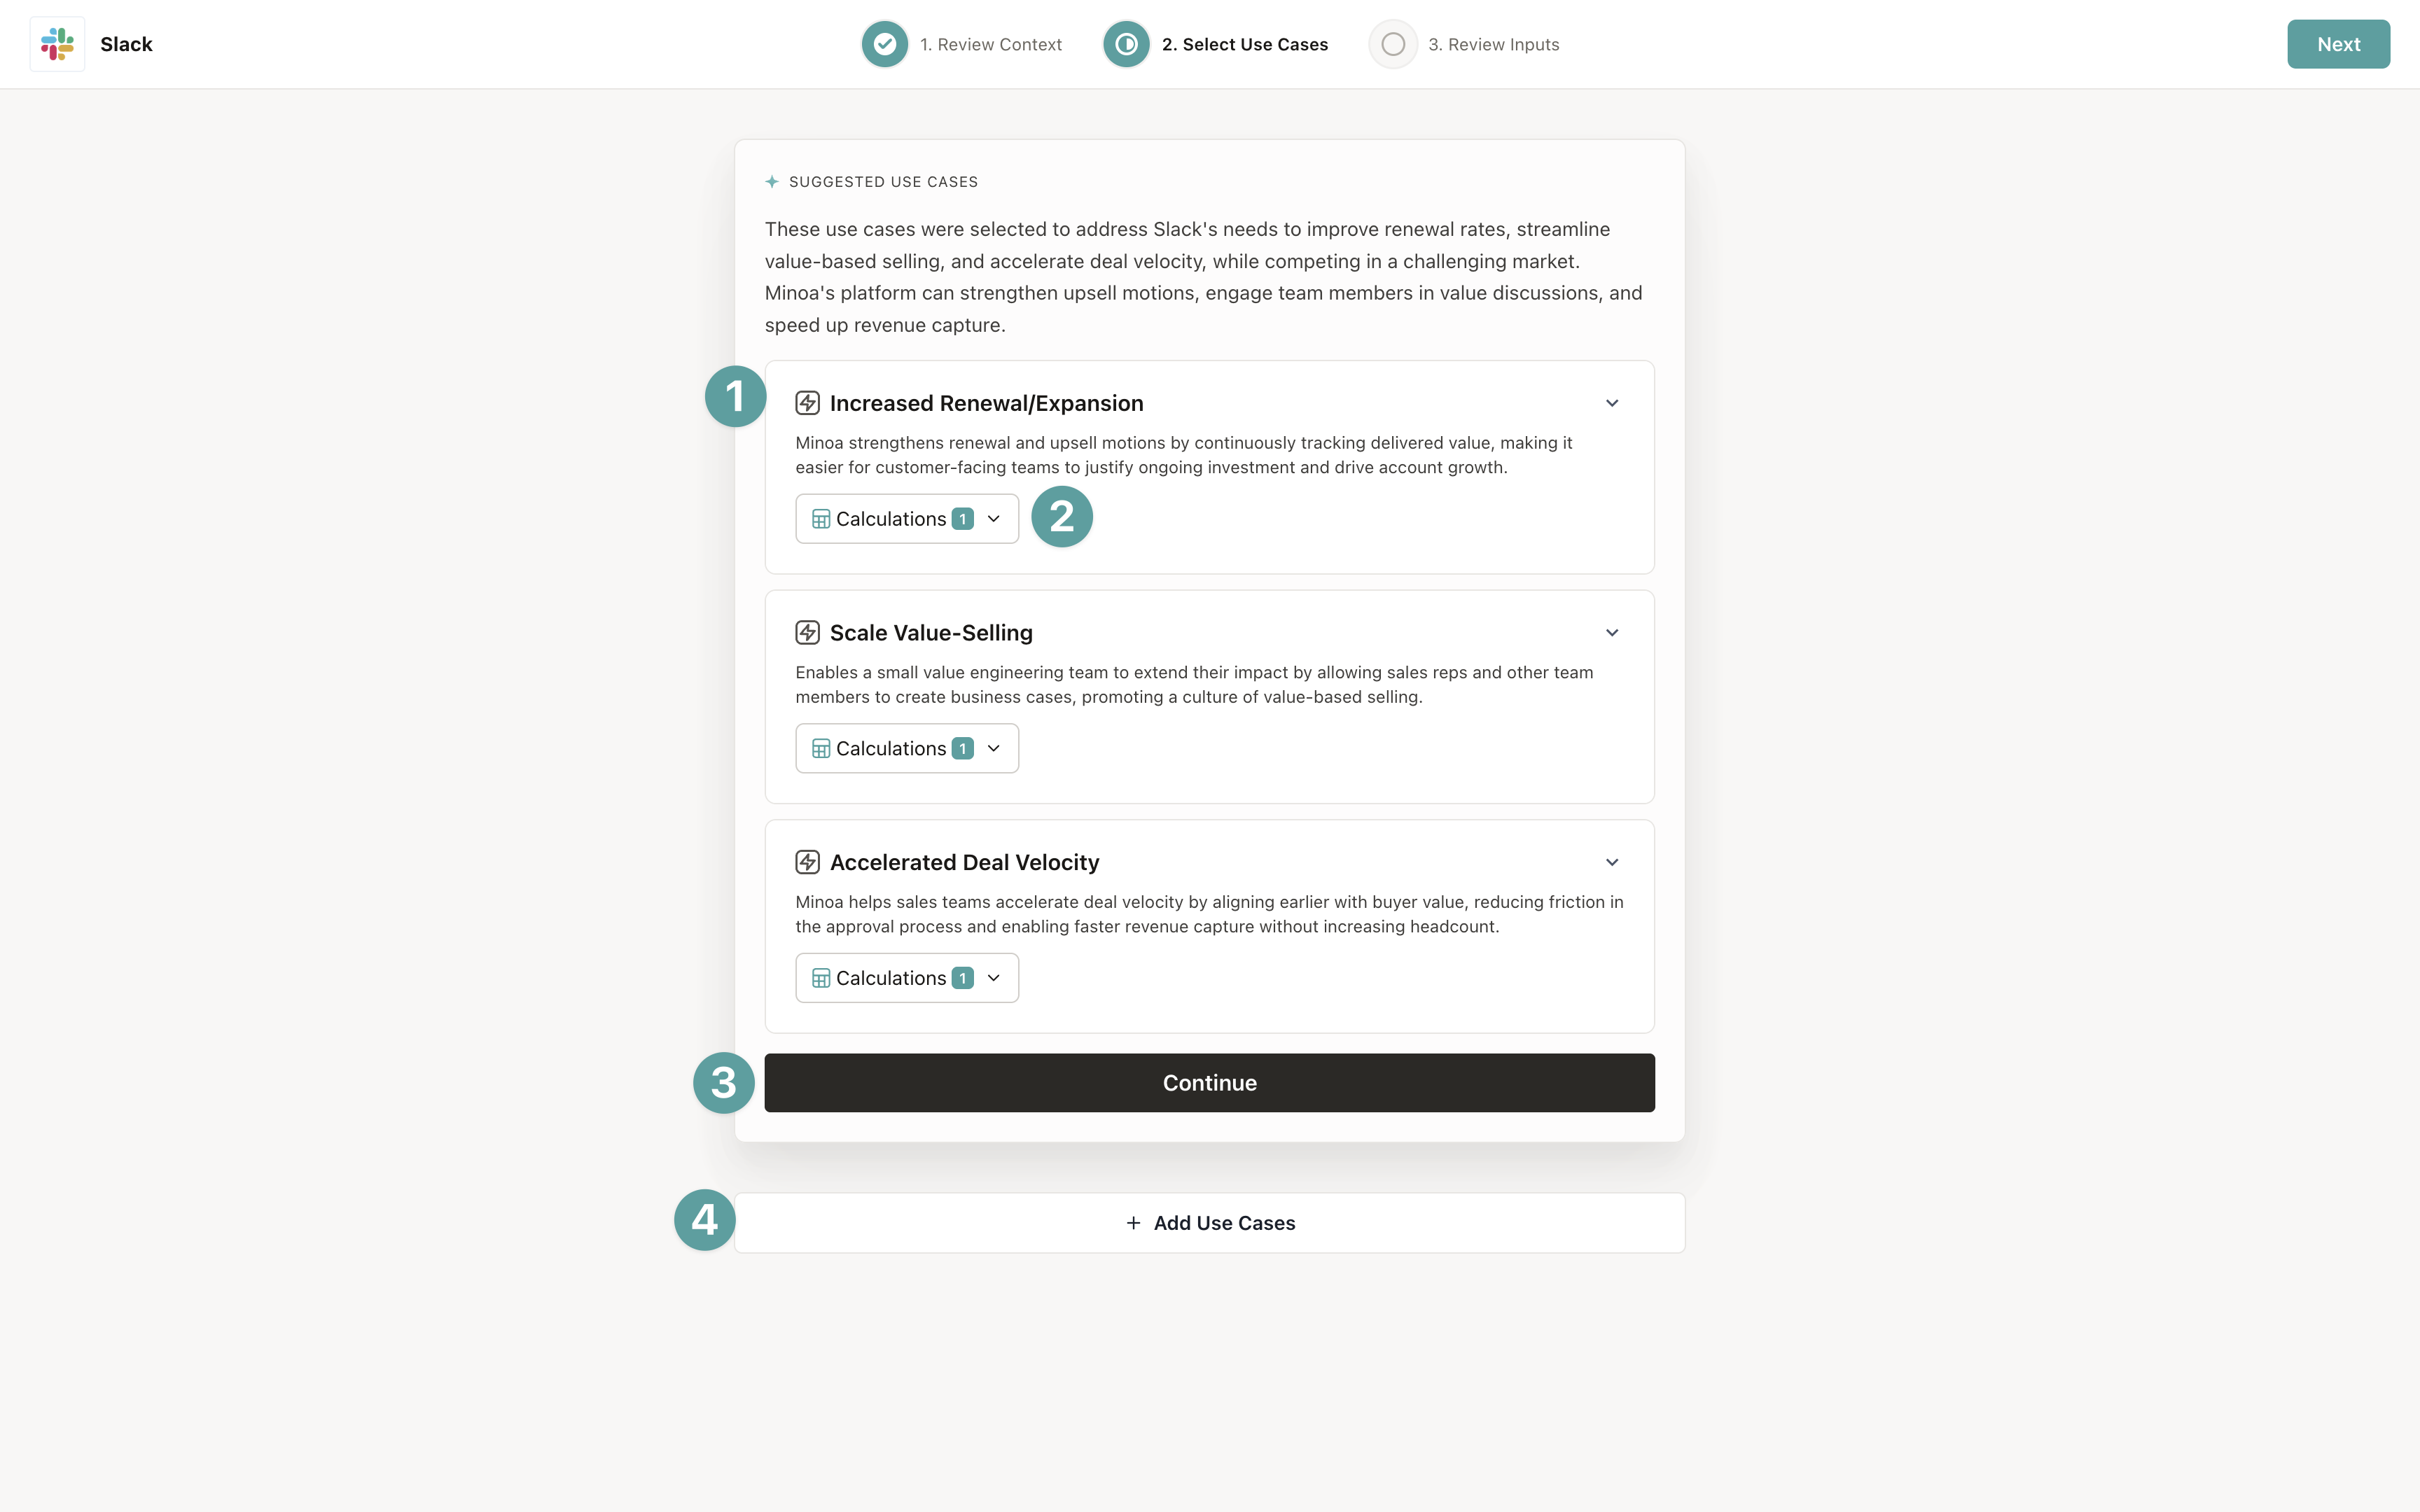
- The name of the use case. Later you can rename these to be more accurate to your prospect.
- The calculations that are included in the use case. Open the dropdown to change the calculation.
- Click continue to advance to step 3 (Review Inputs)
- Click the secondary link to choose your own use cases.
Add use cases from shopping cart
If you want to add more use cases beyond the suggestions, you can browse the full catalog using the shopping cart experience.- Filter use cases by properties, industry, or vertical
- Add use cases to your selection
- Click Continue when you’re ready
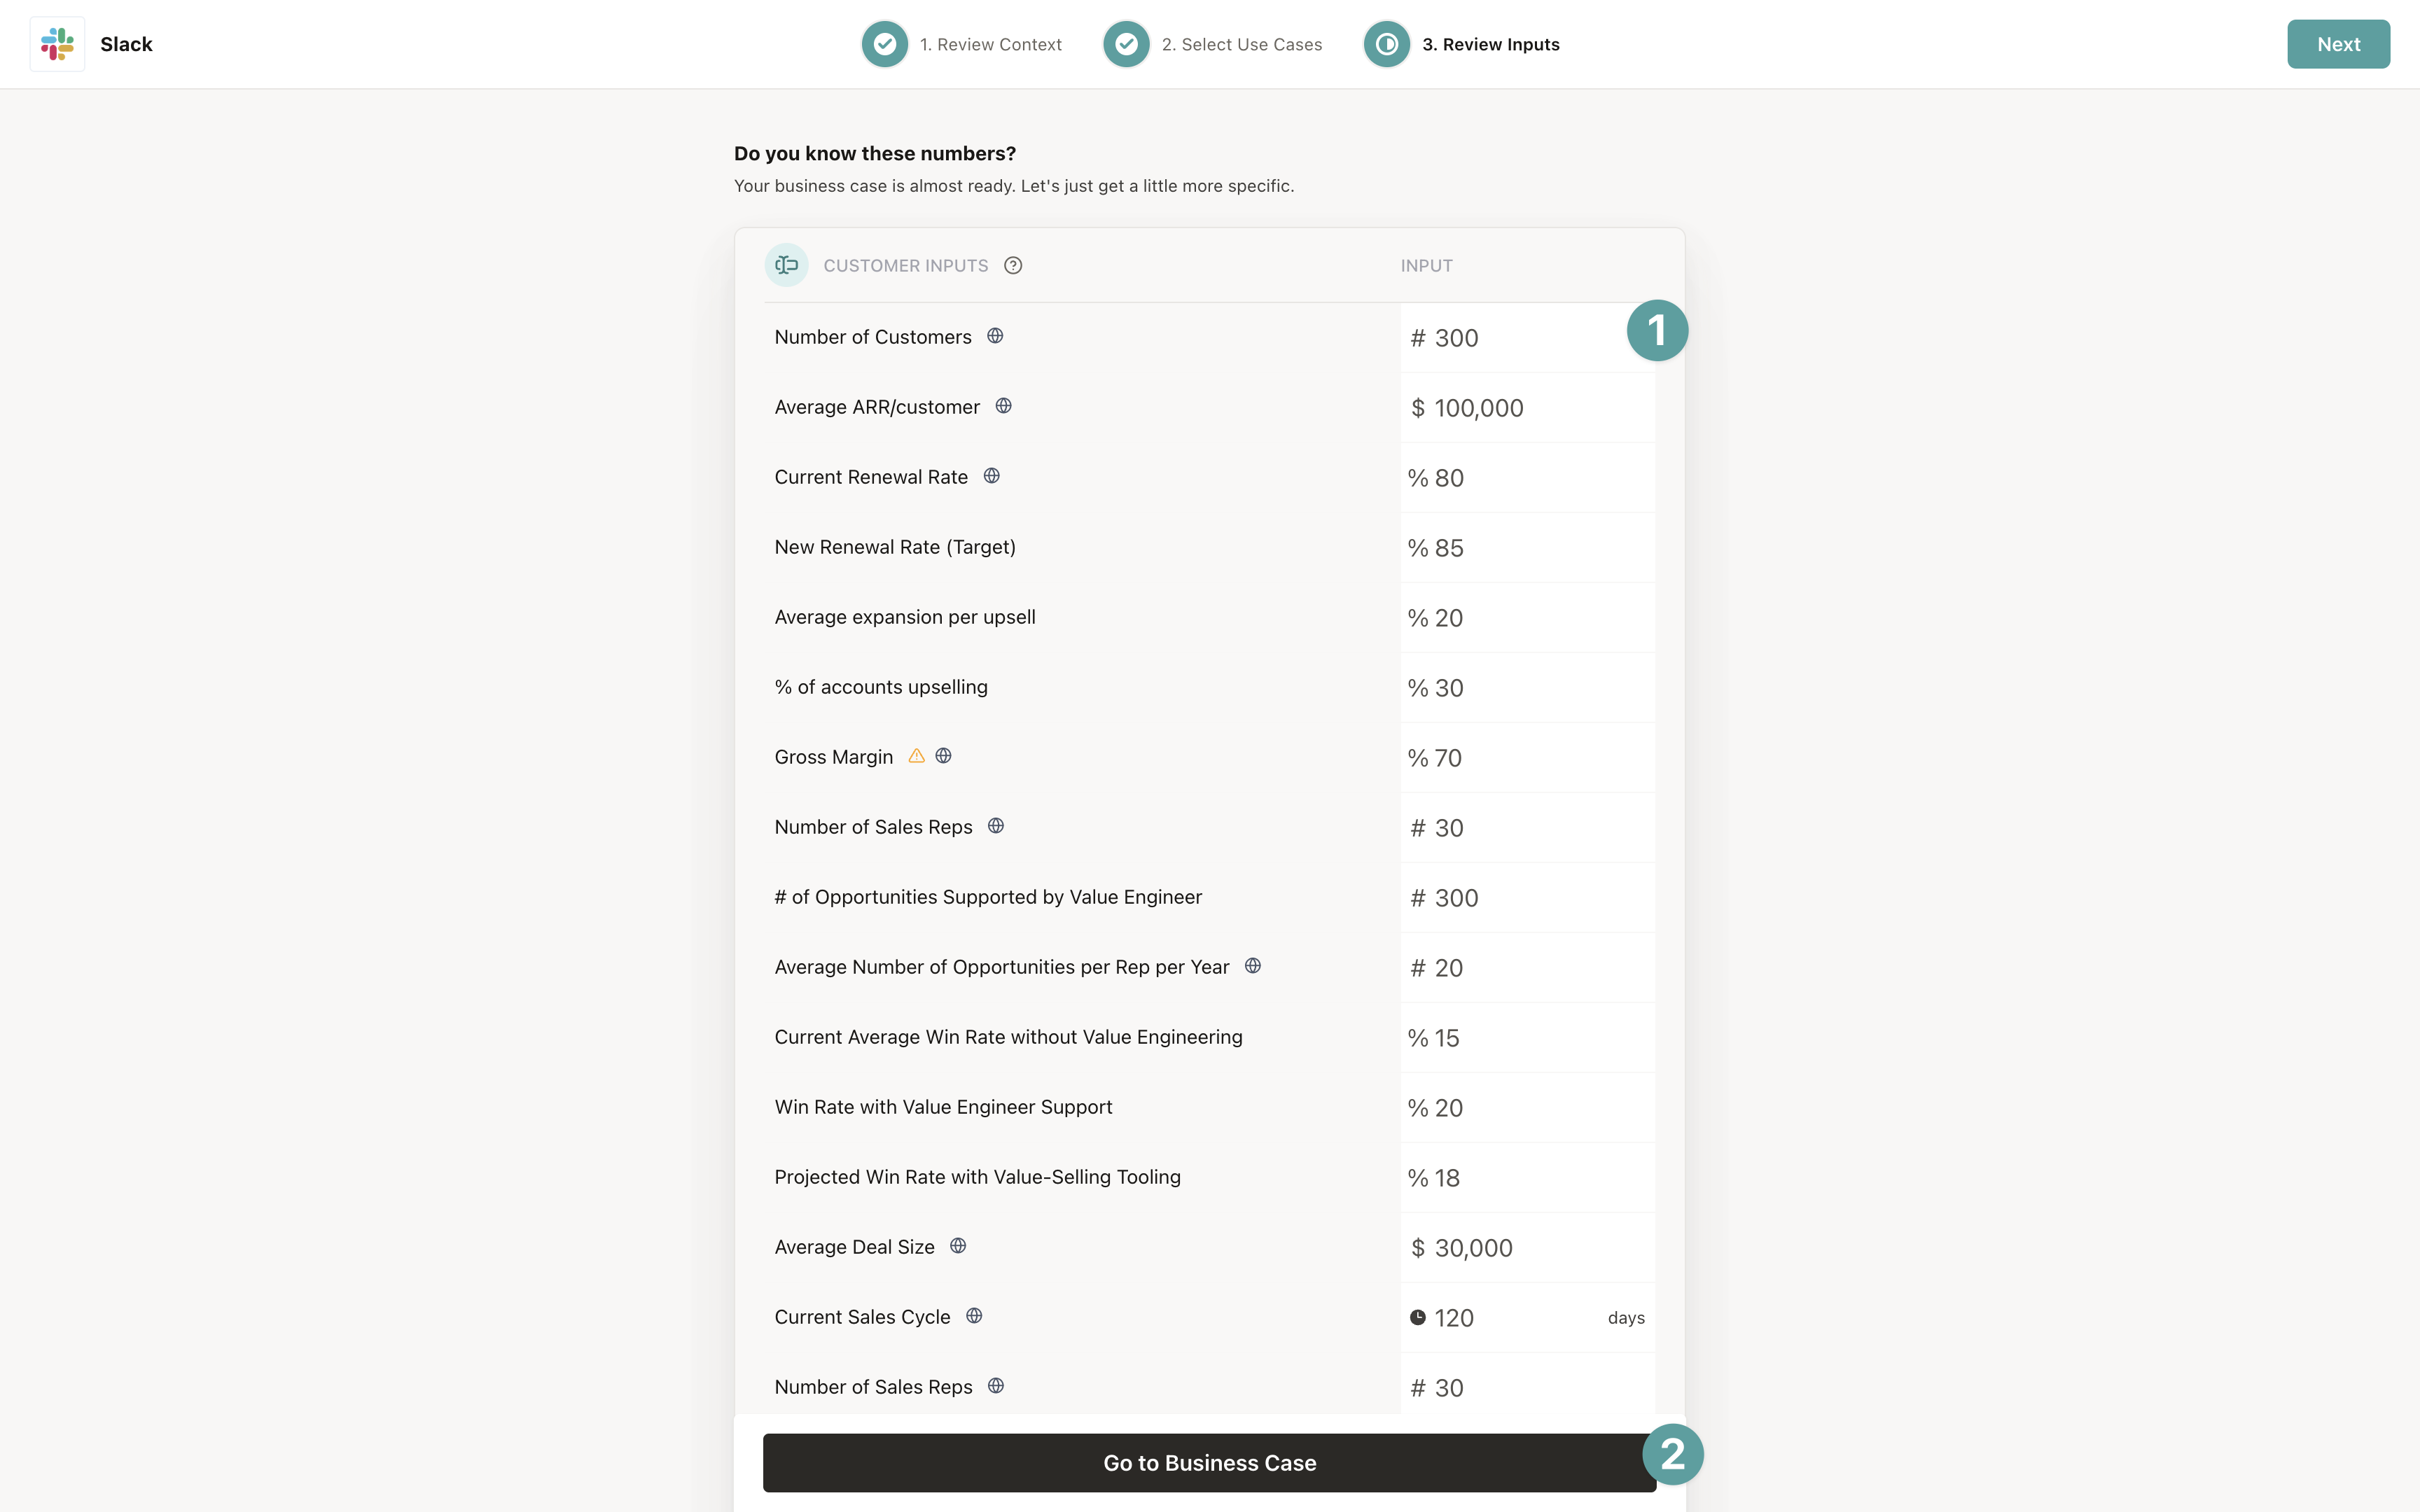
Review inputs
Before finalizing your business case, you’ll be presented with a list of all unlocked inputs. These typically have default values, but it’s very important that you review these and fill in what you know about your prospect. That’s what makes a business case personalized and meaningful for a prospect.- Review each input in the list
- Update values with what you know about your prospect
- Leave defaults for values you don’t have yet—you can always update them later
- Click Go to Business Case when you’re done
Adding an Investment
Once you’ve tailored your use cases to the prospect you can define the pricing structure for this deal. Don’t worry, you can always hide the investment to keep the conversation focused on benefit in the early stages.- Navigate to the Investment Tab
- Add a recurring and/or one-time fee
- Manage the visibility with the icon button in the top right of the investment section

Sharing your Business Case
Now that you have the core of the business case set up, you have several options for how to share.Option 1 (Recommended): Collaborate directly in the Business case
Business cases with clear evidence of collaboration is directly correlated with increased win rates.- Click the share button in the top right
- Add the email of your champion
- Make sure they have the Editor role assigned

Option 2: One-Page Business Case
A document version of your business case that you can regenerate to pull in your latest changes. A link to the original business case is included at the bottom.
Option 3: Export
You have the option to export your business case as a slide deck with your branding. Slide exports can be a great way to leave an asset with your champion to share internally.- Click the export icon in the left toolbar of your business case
- Select Google Slides, Powerpoint, or PDF
- ❗️ Ensure your browser isn’t blocking popups. This is the most common reason for a failed export. Look for a Lock icon near the url of the page.
- Open the exported document. If it’s Google slides or PDF you can add or remove whatever content you’d like. Remember to copy the deck to your organization’s drive.
